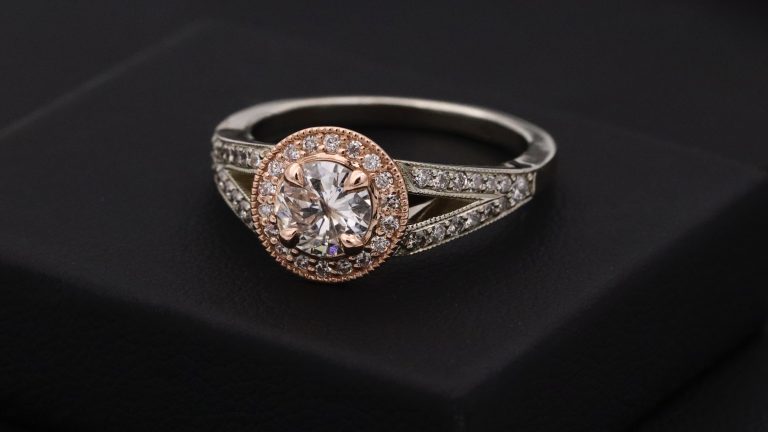
Photography is a captivating form of art that transcends boundaries, narrating stories without a single uttered word. It is a language that everyone understands, as it has the power to evoke emotions, memories, and thoughts. One such enchanting branch of this visual language is product photography, a realm that brings products to life.
A highly delicate and unique subject within the realm of product photography is jewellery. Photographing jewellery may seem daunting at first, especially with its reflective nature, intricate designs, and minuscule details. Yet, once you grasp the nuances of how to photograph jewellery, the process can be as exhilarating as the shimmering objects you’re capturing.
The Secret Behind a Perfect Shot: The Art of Lighting
1. Why is Lighting Important in Jewellery Photography?
Lighting is the foundation of photography, regardless of the subject. With jewellery, lighting is even more critical due to its reflective and translucent elements. It affects how we perceive the colours, textures, and shapes of the jewellery pieces. A well-lit photograph can highlight the intricate details and craftsmanship, while poor lighting may obscure these fine elements.
2. How Can I Achieve the Best Lighting Setup?
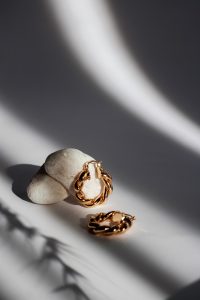
A simple way to achieve optimal lighting is by utilising natural light. Place the jewellery near a window during the day for soft, diffused lighting. If natural light is not an option, you can use a lightbox to mimic its effect. Remember, direct light can create harsh shadows or glare, so diffusing the light is key.
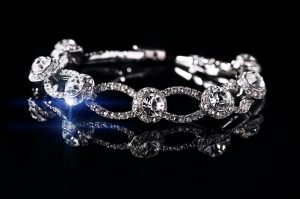
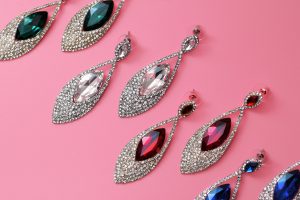
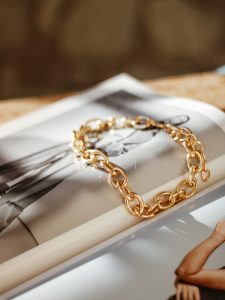
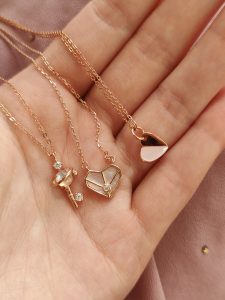
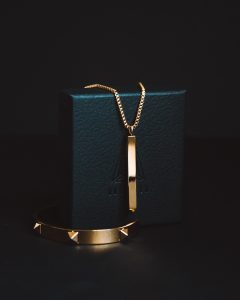
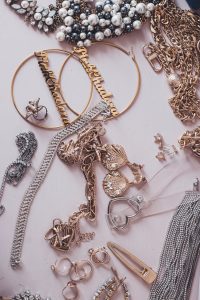
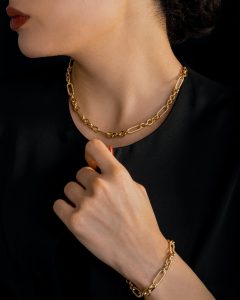
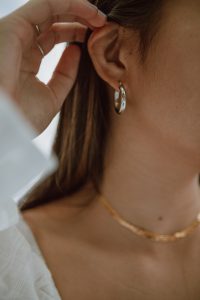
How to Photograph Jewellery: From Lens Choice to Shooting Angles
Understanding your gear and knowing how to use it effectively is crucial in jewellery photography. It will determine the sharpness of your shots, the depth of field, and the overall quality of the image.
1. Which Lens Should I Use?
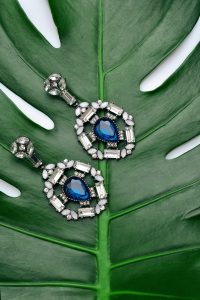
A macro lens is ideal for capturing detailed shots of smaller jewellery pieces. These lenses allow you to get close to the subject while keeping the focus sharp.
2. What Shooting Angle Works Best?
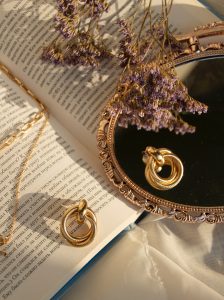
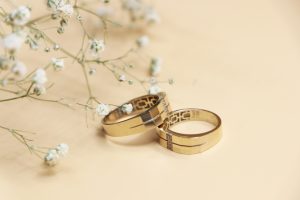
Experiment with different angles to capture the beauty of the jewellery from various perspectives. A front-on angle is a classic choice for showing the design of the piece. Alternatively, a side angle can highlight depth and the unique aspects of a three-dimensional piece.
Post-Production: Enhancing the Brilliance
1. How Can I Edit My Jewellery Photos to Enhance Their Appeal?
Post-production is where the magic truly happens. Adjusting the brightness, contrast, and saturation can make the colours of the jewellery pop. Sharpening the image can bring out the intricacies of the design. Don’t forget to correct any colour imbalance caused by lighting conditions.
2. Are There Any Tools or Software I Should Use?
Programmes like Adobe Photoshop and Lightroom are excellent for editing your jewellery photos. They offer an array of features that allow you to fine-tune your images.
Conclusion: The Art and Science of Capturing the Sparkle
Photographing jewellery is an art that merges creativity and technical precision. The process can seem intricate and complex, but with the right knowledge and practice, the reward is a collection of beautiful, striking images that truly capture the sparkle and allure of each unique piece.
The art of how to photograph jewellery may involve a steep learning curve, but it’s undoubtedly a rewarding skill to master.
Whether you’re a professional photographer looking to expand your portfolio, an online seller aiming to showcase your products effectively, or a hobbyist seeking new challenges, honing your skills in jewellery photography can open a world of creative opportunities.
Remember, every piece of jewellery has a story to tell, and it’s the photographer’s job to bring that story to life through their lens. Let the glittering world of gems inspire you, and may your journey in jewellery photography be as brilliant as the pieces you capture!
