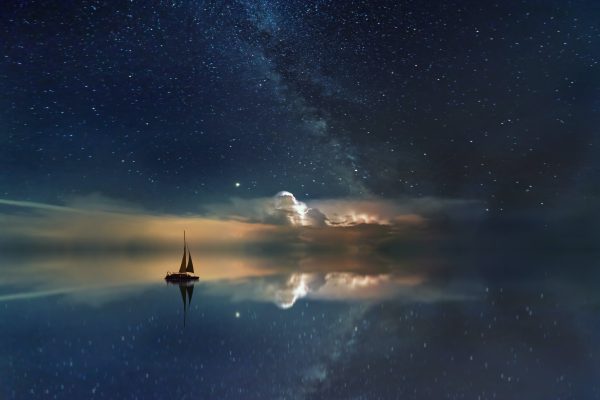
The night sky, in all its celestial splendour, has always been a source of fascination. Its mysteries, from the furthest galaxies to the brilliant moon hanging in our own backyard, are vast and beautiful. In this journey, we will delve into the world of astrophotography, unmasking the secrets behind capturing captivating images of the cosmos. We will explore everything from capturing the gleaming constellations to the techniques on how to photograph the moon. Let’s embark on this interstellar journey of creativity, science and art.
Content
- Understanding the Basics of Astrophotography
- How to Photograph the Moon
- Capturing Constellations and Star Trails
- Venturing Deeper: Photographing Nebulae and Galaxies
- Post-Processing: Enhancing Your Astrophotographs
- Commonly Asked Questions
- Conclusion
Understanding the Basics of Astrophotography
Astrophotography, much like the cosmos itself, can seem overwhelmingly complex at first glance. However, a basic understanding of the key principles and equipment can quickly dispel this misconception.
Firstly, an understanding of the concept of long-exposure photography is crucial, as most celestial bodies are not bright enough to be captured using standard settings. A sturdy tripod and a DSLR or mirrorless camera that allows you to control settings manually are invaluable. Secondly, a basic understanding of the night sky and its movements can greatly enhance your ability to plan and compose shots effectively.
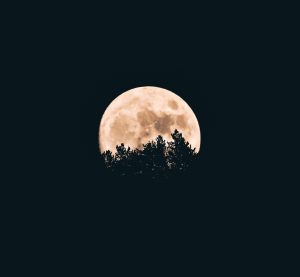
How to Photograph the Moon
Often seen as a gateway to astrophotography, learning how to photograph the moon is an art in itself. The moon, with its radiant glow and prominent presence, provides an excellent subject to practice on. Here’s a simple guide on how to photograph the moon:
- Equipment: A camera with manual settings, a telephoto lens to get a close-up shot, a tripod for stability, and a remote shutter release to prevent camera shake.
- Settings: The ‘Looney 11’ rule is a great starting point. This rule suggests setting your aperture to f/11, shutter speed to 1/100th of a second, and ISO to 100.
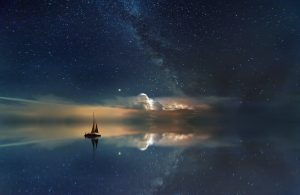
- Composition: Try to include some terrestrial objects for a sense of scale and perspective.
- Timing: The phase and position of the moon can greatly influence your shot. Full moon and lunar eclipses offer unique opportunities.
Remember, these are just starting points. Feel free to experiment with your settings and composition.
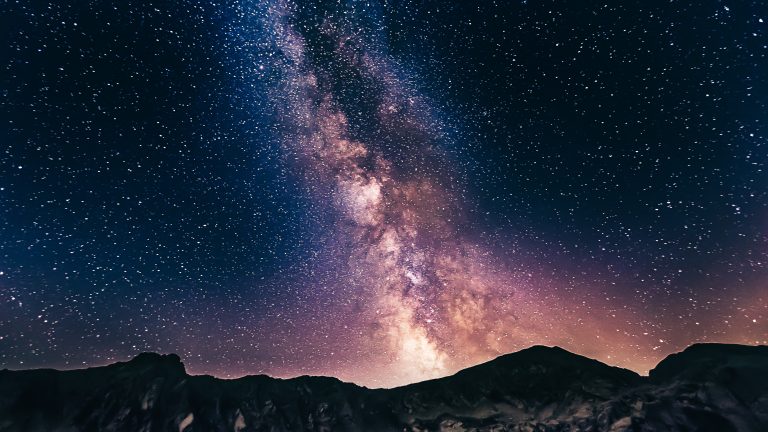
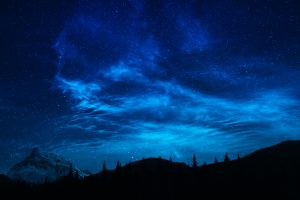
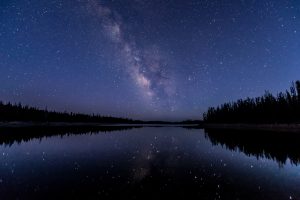
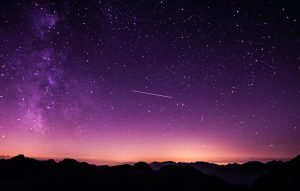
Capturing Constellations and Star Trails
With a bit more challenge and variation, capturing constellations and star trails can be incredibly rewarding. Here, a wider lens might be a better fit, as it will allow you to capture a larger portion of the sky. A star tracker can help with long exposure shots without causing star trails. However, if you’re aiming to capture the trails, keep the tracker off and set your camera for a much longer exposure.
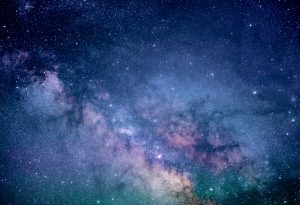

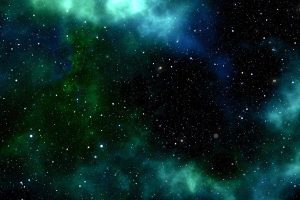
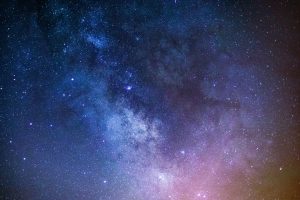
Venturing Deeper: Photographing Nebulae and Galaxies
For those looking to venture deeper into the cosmos, photographing nebulae and galaxies can offer a thrilling experience. Here, a telescope can be your greatest ally. Combined with a technique known as stacking, where multiple photos are combined to create a single image, you can bring out the astounding details of these distant celestial bodies.
Post-Processing: Enhancing Your Astrophotographs
Post-processing is where your shots truly come to life. Programs such as Adobe Lightroom and Photoshop, or specialised astrophotography software like DeepSkyStacker, allow you to enhance the contrast, tweak the colours, and eliminate noise. Remember, it’s not about changing what’s there, but about revealing what our human eyes can’t see.
Commonly Asked Questions
- Can I do astrophotography from my backyard?
Yes, although light pollution can interfere with your shots, there’s still a lot you can capture from your backyard, including the moon and brighter stars. - Do I need a telescope to photograph the stars?
Not necessarily. A camera with a good quality lens can capture a lot. However, a telescope can allow you to delve deeper into the cosmos. - How do I focus my camera on the stars?
Focusing can be tricky. Try setting your camera to manual focus and adjust it to infinity. Some cameras also have a ‘live view’ mode that can help with focusing. - Can I do astrophotography with a smartphone?
While limited, modern smartphones have come a long way and offer various features that can be used to capture shots of the night sky. - What’s the best time for astrophotography?
The best time is on clear, moonless nights, away from the light pollution of cities. - How to photograph the moon with a smartphone?
Even though a DSLR is preferable, smartphones have improved drastically and can capture the moon quite effectively. Utilising a tripod for stability and the manual settings in your camera app can yield decent results.
Whether it’s learning how to photograph the moon or venturing into the vast expanse of galaxies, astrophotography is a journey that blends art and science in a unique, fulfilling endeavour. With patience, practice, and a touch of curiosity, you too can start to capture the captivating beauty of our cosmos. Reach for the stars, and happy shooting!